
Check Wood Quality and Joinery
A squeaky Bed Arc usually starts with weak materials or loose connections. Before assembly, inspect the wood species and the joints that hold the frame together. Solid hardwoods like oak or maple offer the density needed to resist flexing and noise over time. Particle board or low-grade plywood lacks this structural integrity and will likely compress or shift, creating friction points that turn into persistent squeaks.
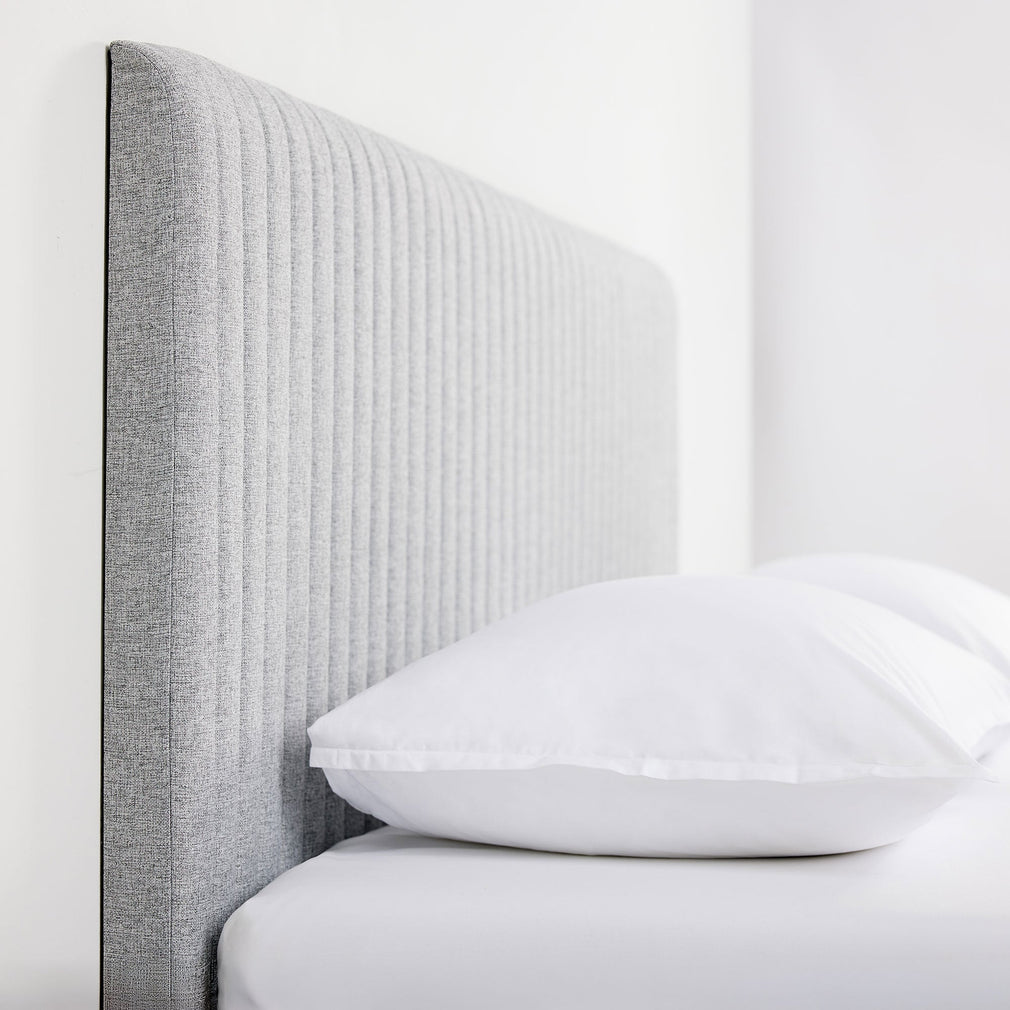
Examine the joinery closely. Mortise and tenon joints or reinforced corner blocks provide a rigid foundation that distributes weight evenly. Avoid frames relying solely on screws or nails, which can loosen with nightly movement. If the Bed Arc uses dowels, ensure they are glued securely and fit tightly; loose dowels allow micro-movements that generate noise. A sturdy frame should feel immovable when you apply pressure to the corners before the mattress is even placed.
Assemble the bed arc frame
A wooden bed arc relies on precise joinery to distribute weight evenly across its curved supports. If the frame is assembled loosely or with misaligned joints, the wood will shift under pressure, creating friction that manifests as squeaks. Follow this sequence to ensure the structure is rigid before you add the mattress.

Lay out all wooden components on a soft surface to prevent scratches. Identify the side rails, the center support beam, and the headboard/footboard connectors. Check that all hardware bags are present and that the wooden dowels or screws match the pre-drilled holes. Do not tighten any fasteners yet; loose assembly allows for alignment adjustments.

Slide the side rails into the designated slots on the headboard and footboard. For wooden bed arcs, ensure the grain direction aligns with the load path. Insert the connecting screws or bolts by hand until they are snug. This step establishes the main perimeter of the frame. If the rails do not slide in smoothly, check for manufacturing burrs on the wood; sanding these down now prevents future rubbing noises.

The center support beam is critical for preventing the bed arc from sagging in the middle, which strains the side rails. Attach the center support legs to the beam first, ensuring they are level. Then, secure the beam to the side rails using the provided brackets. Tighten the bolts firmly, but do not overtighten to the point of stripping the wood threads. This creates a rigid triangular support structure.
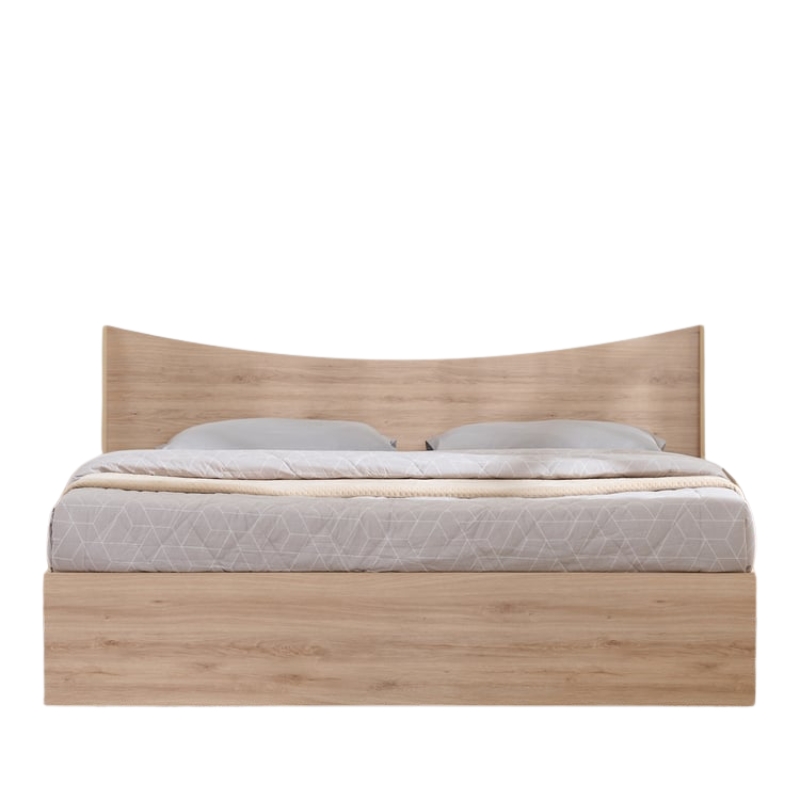
Lay the wooden slats across the frame, ensuring they are evenly spaced. If your bed arc uses a continuous slat system, clip them into place. For individual slats, make sure each one sits flat against the side rails. Use a rubber mallet to gently tap any slats that are slightly loose. A tight slat base distributes weight evenly and prevents the mattress from shifting, which is a common source of friction-based squeaks.
Go over every bolt and screw with a wrench or screwdriver, applying final torque. Listen for any creaking sounds as you apply pressure; if you hear one, locate the joint and tighten it slightly more. Check that the frame sits flat on the floor without wobbling. If it rocks, adjust the leveling feet on the support legs until the frame is stable. A solid, quiet foundation is now ready for your mattress.
Fix squeaks and wobbles early
Wooden bed arcs are beautiful, but wood moves. It expands and contracts with humidity changes, and joints settle under weight. If you hear a creak or feel a wobble during your first week, don’t ignore it. These noises are usually easy to silence if you address them while the frame is still relatively loose.
Start by checking the hardware. Over time, the bolts and screws that hold the wooden slats and frame together can loosen. Use the correct wrench or screwdriver to tighten every connection point. Pay special attention to the joints where the curved arc meets the straight legs, as these bear the most stress. Tightening these points often eliminates the majority of initial noise.
If squeaks persist after tightening, the issue is likely friction. Wood rubbing against wood or metal is noisy. Apply a small amount of furniture wax or a dry lubricant like graphite powder to the contact points. Avoid liquid oils, which can attract dust and stain the wood over time. Gently work the lubricant into the joints and then test the bed by shifting your weight.
Wood settles quickly after assembly. Tighten all hardware again after 7 days of use as the wood settles and expands.
Finally, check the floor and the bed feet. Uneven flooring can cause the entire structure to rock, creating a wobbling sensation that feels like a squeak. Use a level to check the stability. If the bed rocks, adjust the feet or place felt pads under the legs to stabilize it. This simple fix prevents stress on the wooden joints and keeps the bed silent.
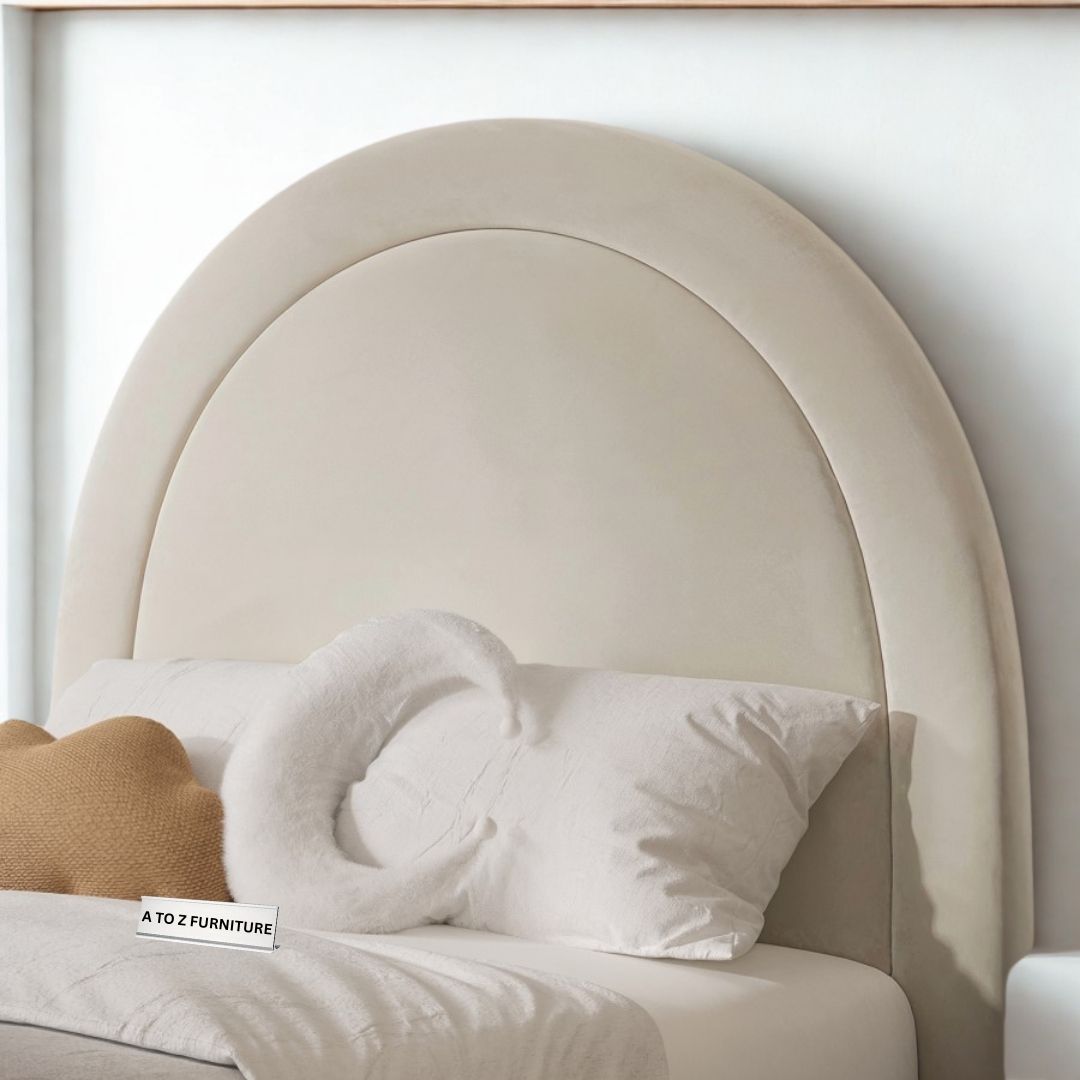
Verify mattress support compatibility
A wooden Bed Arc frame relies on its internal slat system to distribute weight evenly. If the slat spacing is too wide, your mattress will sag between the supports, leading to premature wear and that familiar mid-sleep squeak. The gap between slats is the single most important variable for longevity.
Different mattress cores react differently to wooden foundations. Memory foam needs tight support to prevent bottoming out, while innersprings have more structural integrity but still need consistent backing. Check your mattress warranty; many void coverage if slats are spaced wider than three inches.
| Mattress Type | Max Slat Spacing | Support Requirement | Risk of Wide Spacing |
|---|---|---|---|
| Memory Foam | 3 inches | High | Sagging, loss of contour support |
| Latex | 4 inches | Medium | Minor unevenness, reduced durability |
| Hybrid | 3 inches | High | Coil damage, edge collapse |
| Innerspring | 4-5 inches | Low-Medium | Squeaking, coil deformation |
Before you place your mattress on the Bed Arc, measure the distance between the center of one slat to the center of the next. If you are using memory foam or a hybrid, you may need to add extra slats or a bunkie board to meet the three-inch rule. Tightening the slat retainers now prevents the wood from shifting and rubbing against the frame rails later.
Final inspection and care checklist
Before making the bed, run through this final quality assurance sequence. A wooden bed arc relies on tension and friction to stay quiet, so catching loose joints now prevents squeaks later.
- Tighten all fasteners: Go over every bolt and screw with a wrench. Wood expands and contracts with humidity, so initial tightening often loosens slightly after the first few days.
- Check the center support: Ensure the middle support beam is level and firmly seated in its bracket. An unlevel center causes the frame to twist under weight, creating noise.
- Lubricate contact points: Apply a small amount of silicone spray or beeswax to any wooden joints that rub against each other. Avoid oil-based products that attract dust.
- Test the frame: Jump gently on each corner of the bed. Listen for creaks. If you hear one, locate the specific joint and tighten it incrementally until the sound stops.
Keeping this checklist handy ensures your wooden bed arc remains stable and silent for years.
Common bed arc assembly: what to check next
Wooden bed arcs require precise assembly to maintain their structural integrity and silence. Because the curved design relies on tension and specific joint alignment, small mistakes during setup often lead to noise or instability. Addressing these common questions helps ensure your bed arc remains solid and quiet for years.
Proper maintenance goes beyond just assembly. Regularly check the bolts every few months, as wooden frames can shift slightly with seasonal humidity changes. Keeping the joints tight ensures the bed arc retains its intended shape and support capabilities.
No comments yet. Be the first to share your thoughts!