
Bed Frame SOS: Common Problems
Noisy or wobbly beds are a common frustration, disrupting sleep and feeling unsettling. A little attention can prevent minor annoyances from becoming costly repairs, preserving your investment and ensuring a good night’s rest.
Common issues include squeaks, wobbles, broken slats, loose hardware, and frame separation. Squeaks often signal a minor problem, while wobbles indicate instability. Broken slats compromise mattress support, and loose hardware warns of potential failure. Frame separation requires immediate attention.
This guide covers diagnosing and fixing common bed frame problems, from simple tightening to more involved repairs. Regular inspection and maintenance extend the life of your bed frame. Ignoring small issues now can lead to bigger headaches and expenses later.
Decoding the Squeak: Causes & Fixes
Irritating squeaks usually stem from friction: wood on wood, metal on metal, or movement within joints. Identifying the source is the biggest challenge. Systematically test different areas: the headboard, footboard, side rails, and where the slats meet the frame.
Once you've pinpointed the source, tightening bolts is often the first step, as vibrations can loosen connections. If tightening doesn't work, lubrication is next. Avoid WD-40 for wood-on-wood contact, as its solvent properties can dry out wood over time. Silicone-based lubricants or beeswax are better choices.
For metal-on-metal squeaks, lithium grease works well. Felt pads applied between rubbing surfaces, especially on headboards and footboards, can also be effective. Check wall attachments or anything else making contact with the bed, as these can also cause squeaks.
To tackle squeaks: 1. Locate the squeak. 2. Tighten all bolts in the area. 3. If tightening fails, apply lubricant (silicone, beeswax, or lithium grease). 4. If the squeak persists, add felt pads. 5. Re-test and repeat if necessary. Finding the right solution may take experimentation.
Wobbly Bed Blues: Stability Solutions
A wobbly bed is annoying and a safety concern. The most common culprit is an uneven floor, but loose connections within the frame can also cause wobbling. Check the floor with a level before dismantling anything; you might be surprised at the variation.
Shims help level uneven floors when placed under bed frame legs. Wood shims, plastic shims, or folded cardboard can be used. Choose a durable shim material that won't compress over time. Start with small shims and add layers as needed.
Thoroughly check all frame connections and tighten loose bolts, screws, or hardware, paying attention to corner brackets. If the frame still wobbles, consider reinforcing corner brackets with metal plates and screws. A center support beam is essential for larger beds (queen and king size) to prevent sagging and wobbling; adding one can make a significant difference.
Many people assume frame issues when the problem is simply an uneven floor. Don't skip checking the floor first.
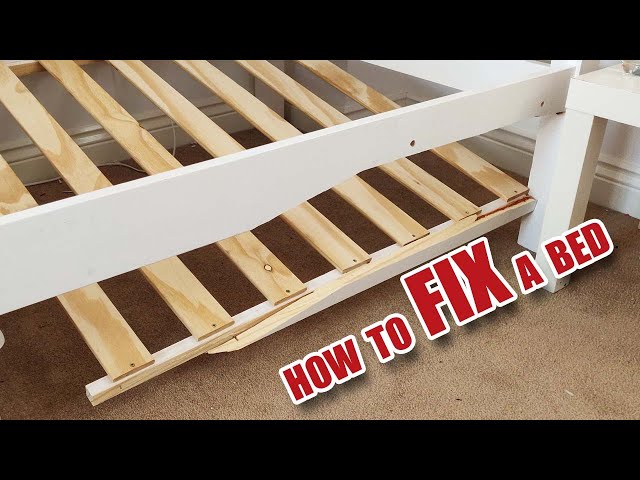
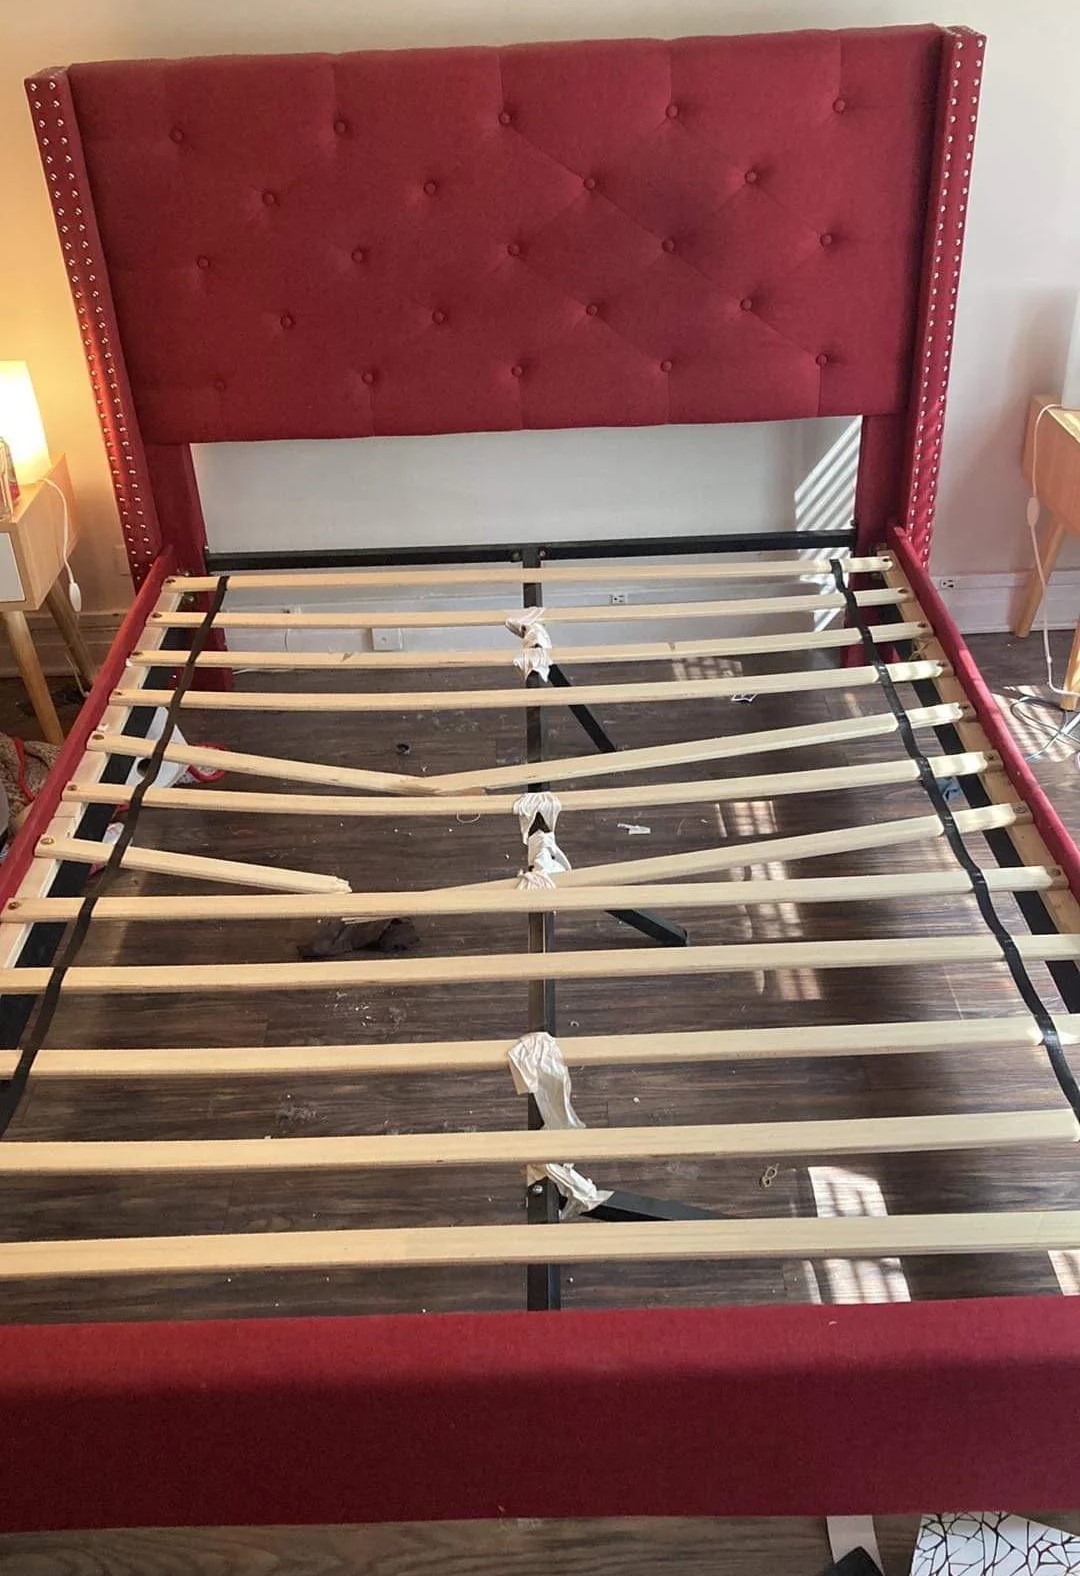
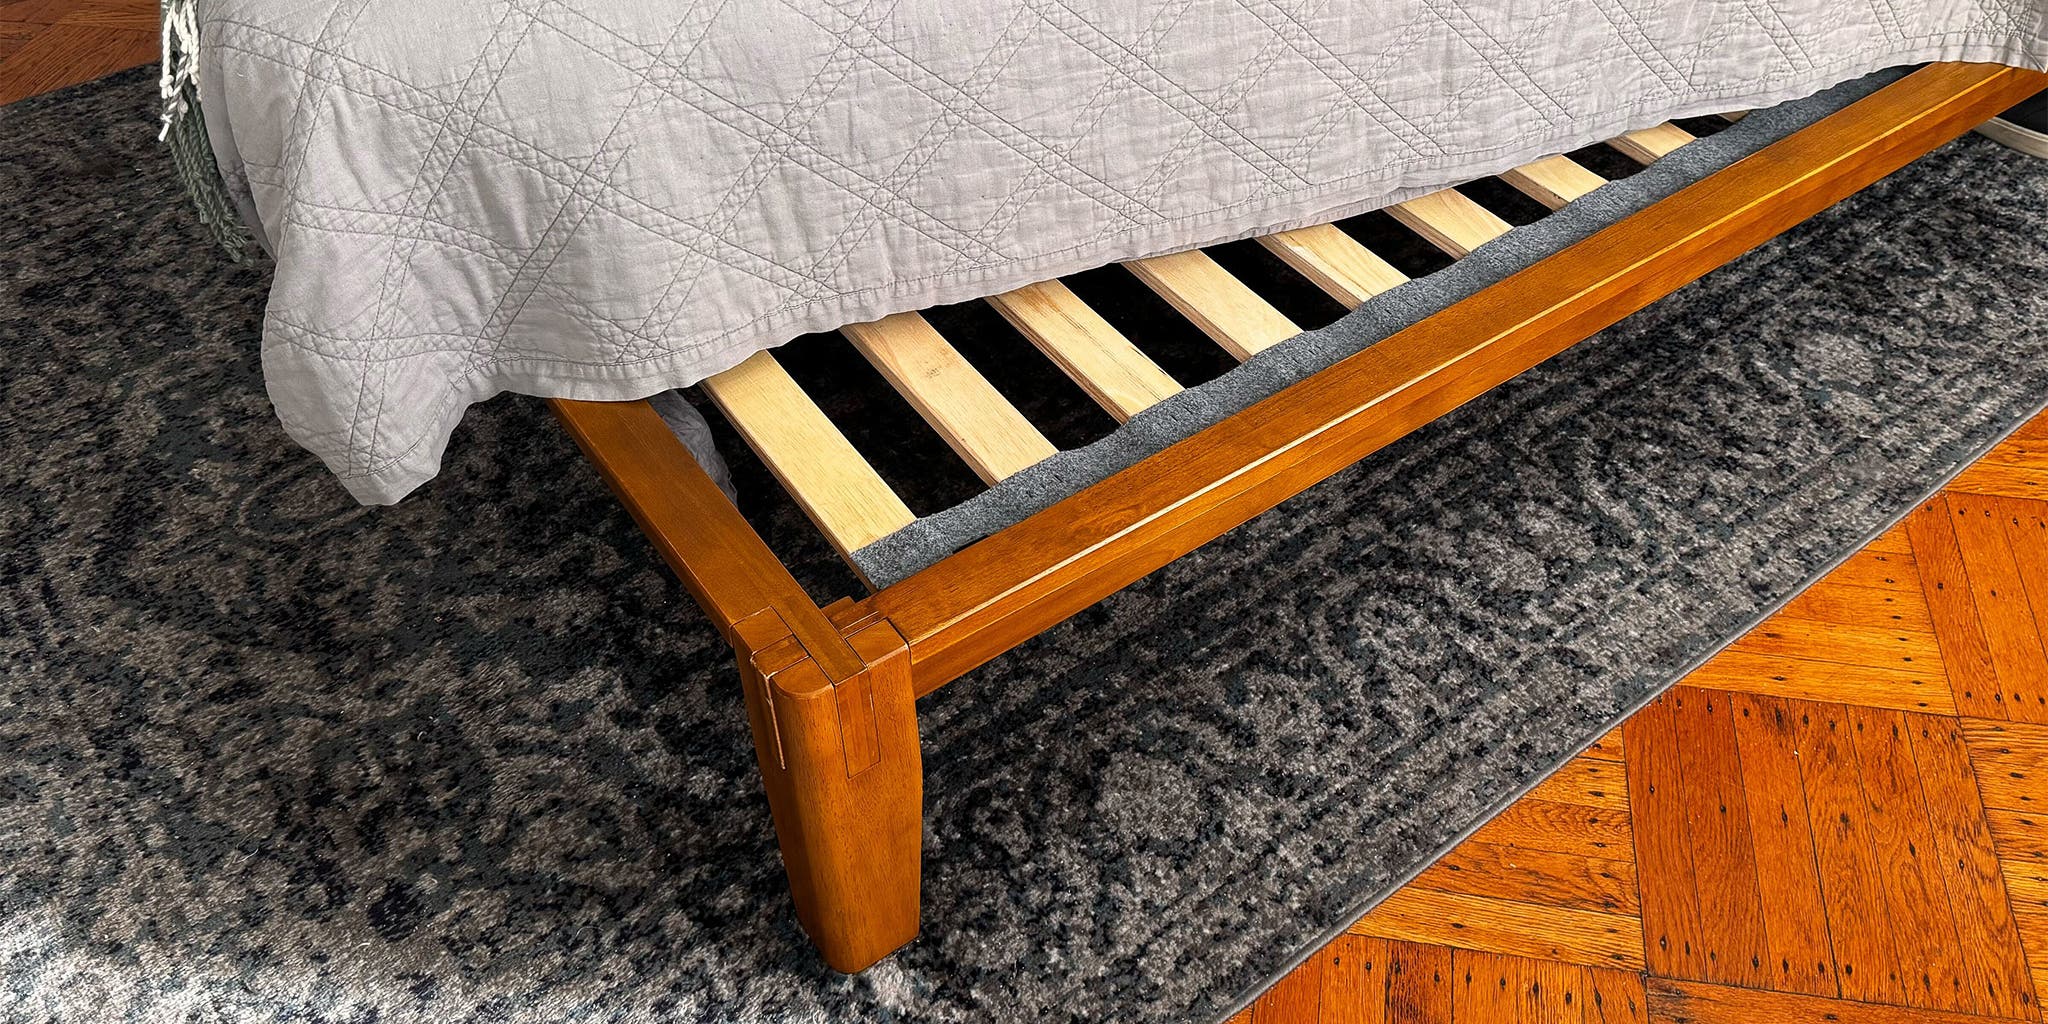
Slats: Repairing & Reinforcing
Slats provide essential support for your mattress and body. Broken or missing slats can lead to sagging, discomfort, and mattress damage. Wood slats are common and prone to cracking, while metal slats can bend or break under excessive weight.
Replacing broken slats is straightforward. Find matching replacement slats at furniture stores or online retailers. If an exact match isn't available, reinforce existing slats by adding a center support beam or attaching additional wood or metal strips to their underside.
Adding extra slats distributes weight more evenly and provides better mattress support, especially for heavier mattresses or couples. Good slat support contributes to mattress longevity.
- Inspect slats regularly for cracks or damage.
- Replace broken slats promptly.
- Reinforce existing slats if needed.
- Consider adding extra slats for increased support.
Loose Hardware: Tightening & Replacing
Loose bolts, screws, and hardware are common causes of bed frame problems, leading to wobbles, squeaks, and potential structural failure. Regularly tightening hardware prevents these issues.
Use the right tools to prevent stripping screw heads or damaging bolts. If a screw is stripped, try a screw extractor or a slightly larger screw. Thread locker (like Loctite) can prevent hardware from loosening again. Avoid over-tightening, which can damage the frame.
When replacing hardware, use the same size and type of fasteners as the originals. Replacement hardware is available at most hardware stores. Keep common sizes on hand for quick repairs. Using the wrong size screwdriver can worsen the problem.
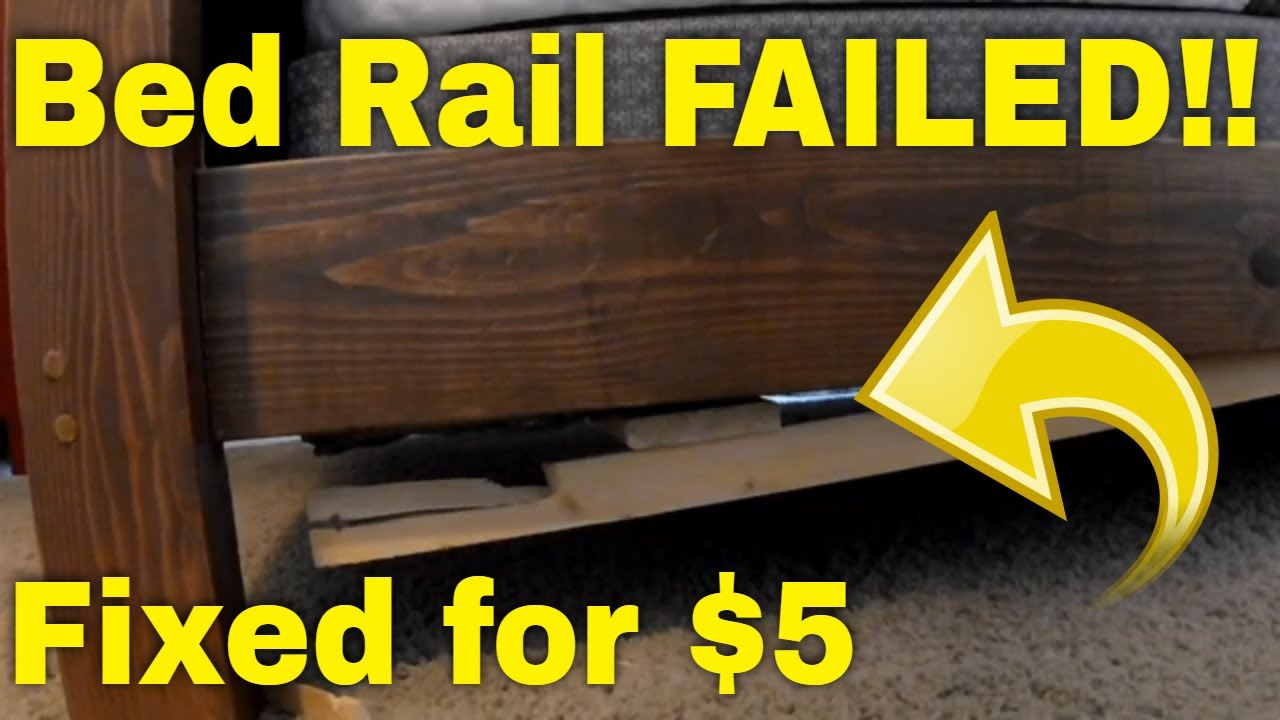
Broken Frame Rails: DIY Repair Options
A broken frame rail is a serious problem requiring involved repairs. Small cracks can be repaired with wood glue and clamps. Larger breaks may need reinforcing plates or complete rail replacement. For clean breaks with good wood condition, apply wood glue to broken surfaces, clamp, and let dry completely.
Attach metal reinforcing plates to either side of the break for added strength, distributing weight and preventing worsening. If the break is severe or the wood is significantly damaged, replacement is usually best. Finding replacement rails can be challenging but may be possible online or at furniture repair shops.
Replacing the entire bed frame is sometimes the most practical solution, especially if it's old or made of low-quality materials. Prioritize safety and structural integrity. If unsure about your repair abilities, consult a professional.
Bed Frame Repair Kits: Are They Worth It?
Bed frame repair kits are readily available on Amazon and other retailers, promising quick fixes for common problems. These kits typically include a variety of hardware, such as bolts, screws, brackets, and wood glue. They are often marketed as a convenient and affordable solution for repairing squeaky or wobbly beds.
However, the value of these kits is debatable. They can be useful for addressing minor issues, such as loose hardware or small cracks. But they are unlikely to solve more serious problems, such as broken frame rails or significant structural damage. The quality of the components in these kits can also vary widely, with some kits containing cheap or flimsy hardware.
Ultimately, a bed frame repair kit is a good option if you’re dealing with a minor issue and want a quick and easy fix. But don’t expect it to be a magic bullet. A well-stocked toolbox and a little bit of DIY know-how are often more effective.
Bed Frame Repair Kit Comparison - 2026
| Kit Feature | Quality/Quantity | Ease of Use | Typical Price Range | Customer Sentiment |
|---|---|---|---|---|
| Hardware Variety | Generally includes bolts, screws, washers, and bed rail clips. Range varies significantly. | Moderate; requires basic tool knowledge. | USD $20 - $60 | Generally positive, dependent on hardware durability. |
| Wood Glue Included | Quality ranges from standard PVA to higher-strength wood glues. Some kits omit glue entirely. | Easy to apply, but requires clamping during drying. | Kits with glue: USD $25 - $75; Without glue: USD $15 - $50 | Mixed; glue quality is a frequent point of feedback. |
| Bed Rail Connectors | Plastic or metal connectors for reinforcing joints. Metal connectors are typically more durable. | Easy installation, often tool-free. | USD $30 - $80 | Positive when connectors fit properly; negative if they are flimsy or don't align. |
| Squeak Reduction Elements | Includes felt pads, rubber washers, or lubricating waxes. Effectiveness varies. | Very easy to apply. | USD $10 - $35 | Generally positive for temporary relief, but may require reapplication. |
| Support/Reinforcement Brackets | Metal brackets to add stability to side rails or center supports. Strength depends on metal gauge. | Moderate; requires drilling in some cases. | USD $40 - $90 | Positive when properly installed; negative if brackets are insufficient for the damage. |
| Kit Completeness | Some kits focus on specific issues (e.g., squeaks), while others offer a broader range of solutions. | Varies greatly depending on kit focus. | USD $15 - $100+ | Highly variable; depends on the user's specific needs and the kit's contents. |
| Material Durability | Hardware materials range from coated steel to zinc alloy. Quality impacts long-term performance. | N/A - inherent to product. | USD $20 - $120+ | Customer reviews often mention hardware stripping or breaking under stress. |
Illustrative comparison based on the article research brief. Verify current pricing, limits, and product details in the official docs before relying on it.
Preventative Maintenance: Keeping Your Bed Happy
The best way to fix a bed frame problem is to prevent it from happening in the first place. Regular preventative maintenance can significantly extend the life of your bed frame and keep it performing at its best. This includes regularly tightening all hardware, lubricating joints, inspecting slats for damage, and protecting the frame from moisture.
Make it a habit to check the tightness of all bolts and screws every few months. Apply lubricant to any moving parts or joints that are prone to squeaking. Inspect the slats for cracks or damage and replace them as needed. And finally, protect the frame from moisture by avoiding placing it in damp areas or exposing it to spills. A little bit of attention goes a long way towards ensuring a peaceful night’s sleep.

No comments yet. Be the first to share your thoughts!