
Common bed frame problems
A squeaky or wobbly bed ruins sleep. Before you spend money on a new frame, most of these issues are easy to fix with basic tools. Usually, the problem is just a loose bolt or a dry joint that needs a quick adjustment.
This guide will focus on practical solutions you can implement with a few basic tools. Fixing these issues yourself can save a significant amount of money compared to replacing the entire frame. However, it's important to be realistic. Some problems indicate more serious structural damage, and attempting a repair beyond your skill level could be unsafe or ultimately ineffective. Knowing when to call a professional is just as important as knowing how to fix things yourself.
We'll cover diagnosing the root cause of the issue, gathering the necessary materials, and step-by-step instructions for common repairs. We'll also touch on preventative maintenance to help you keep your bed frame in good condition for years to come. Remember, a little effort can go a long way in ensuring a good night’s sleep.

How to stop bed squeaks
The dreaded squeak. It’s the sound of wood rubbing against wood, metal groaning under pressure, or the mattress itself shifting. Pinpointing the source of the squeak is the first, and often most challenging, step. Have someone lie on the bed and move around while you listen carefully. Is it coming from the headboard, the footboard, the side rails, or underneath the mattress?
Once you’ve narrowed down the location, start with the simplest solution: tightening all bolts and screws. Use a wrench or Allen wrench to ensure everything is snug. If that doesn't work, lubrication is your next best bet. Silicone spray lubricant is excellent for metal-on-metal contact points, while beeswax can work wonders on wood joints. Apply sparingly and wipe away any excess. Felt pads placed between metal components can also dampen vibrations.
Avoid using WD-40. It silences the noise for a few days but eventually dries into a sticky residue that attracts dust and makes the squeak worse. I prefer using beeswax on wood joints or a dedicated silicone spray for metal. If you use graphite, be careful—it's messy and can stain your carpet or sheets.
Don't overlook the mattress itself. Sometimes, the squeak isn’t the frame at all, but friction between the mattress and the frame. A mattress pad or even a thin blanket placed between the two can eliminate this noise. A little detective work and patience will usually reveal the culprit.
Fixing a wobbly frame
A wobbly bed frame is not just annoying; it’s a safety hazard. It can shift during the night, potentially causing you to fall or, over time, damage your mattress. The first step is to check the floor. Is it level? Uneven floors are a common cause of wobbles. Use shims – thin wedges of wood or plastic – under the legs of the bed frame to level it out. You can find these at any hardware store.
Next, meticulously tighten all bolts and screws. A loose connection anywhere in the frame can contribute to instability. For larger beds, especially king-size, consider reinforcing the corner brackets. These brackets provide extra support and prevent the frame from twisting. Adding a center support beam, running lengthwise down the middle of the frame, can also significantly improve stability.
A good foundation is essential. A wobbly frame puts undue stress on the mattress, potentially shortening its lifespan. Be careful not to over-tighten bolts, as this can strip the threads, making the problem worse. If you’re consistently battling a wobble, it might be time to assess the overall structural integrity of the frame.
Slats Under Stress: Repairing and Replacing
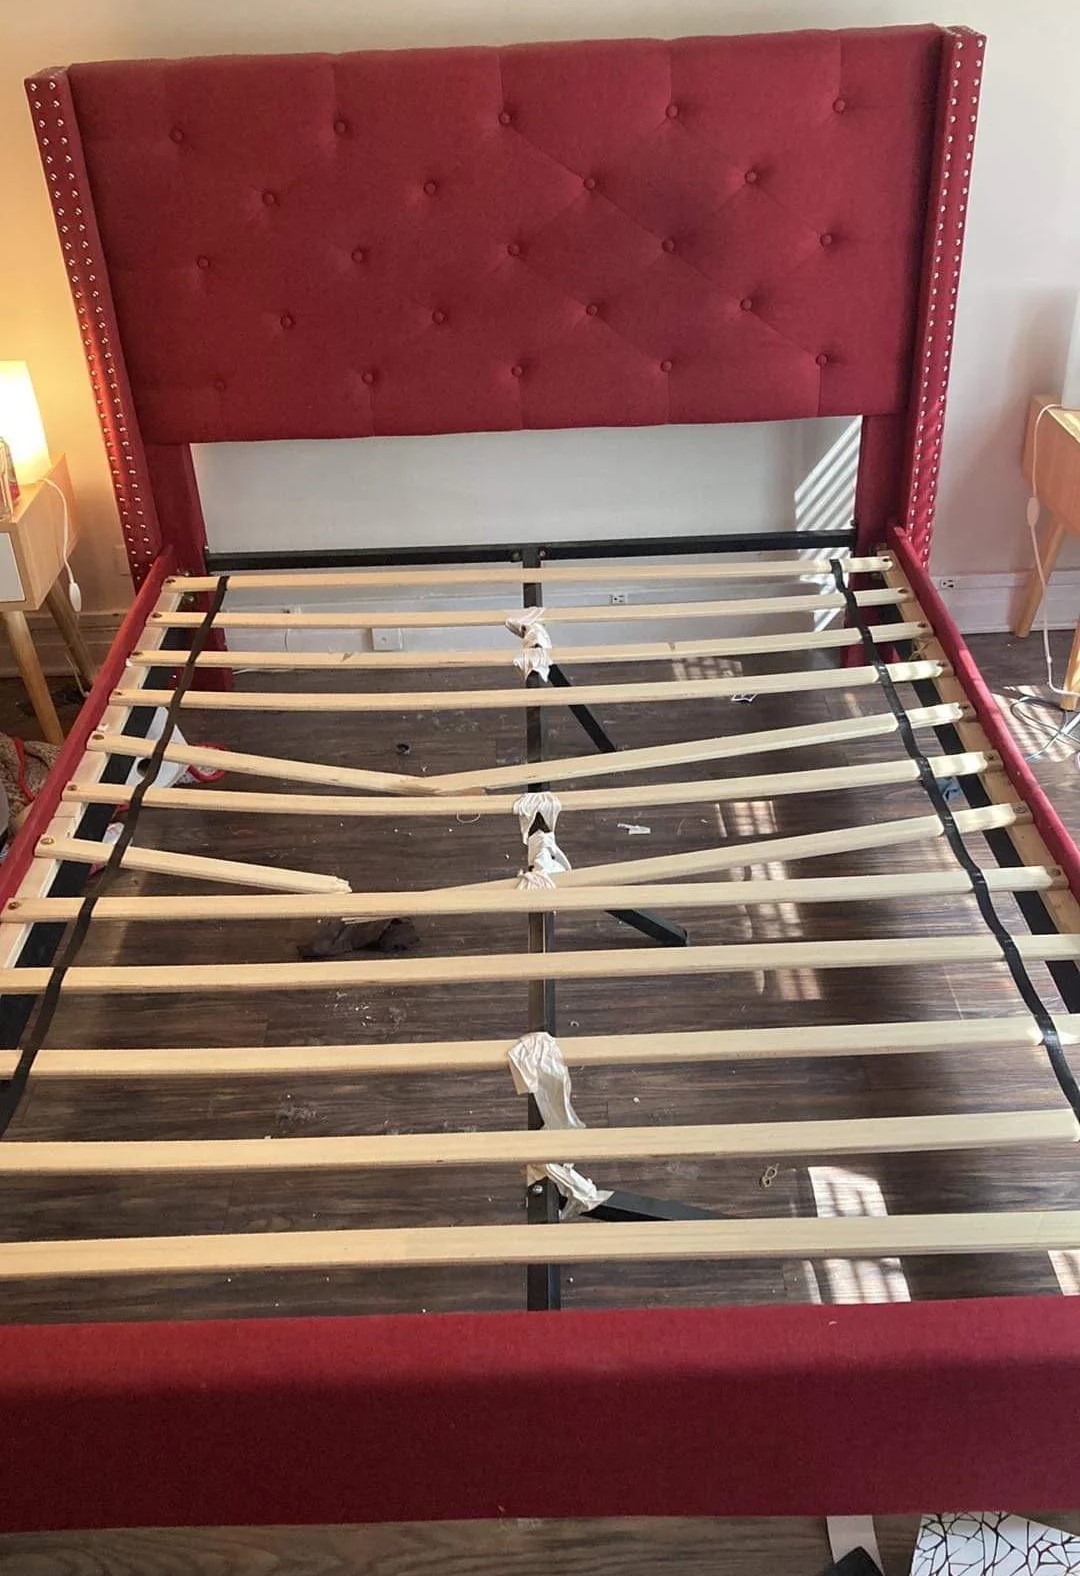
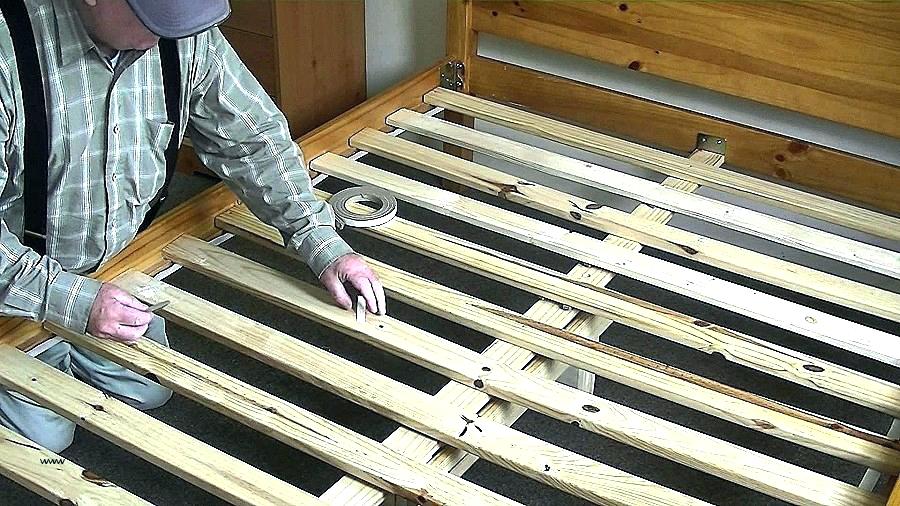
Broken or sagging slats are a common issue, particularly with wooden bed frames. First, assess the damage. Are the slats cracked, broken completely, or simply loose? If they’re loose, try re-securing them with screws. Make sure the screws are the correct length to avoid poking through the frame.
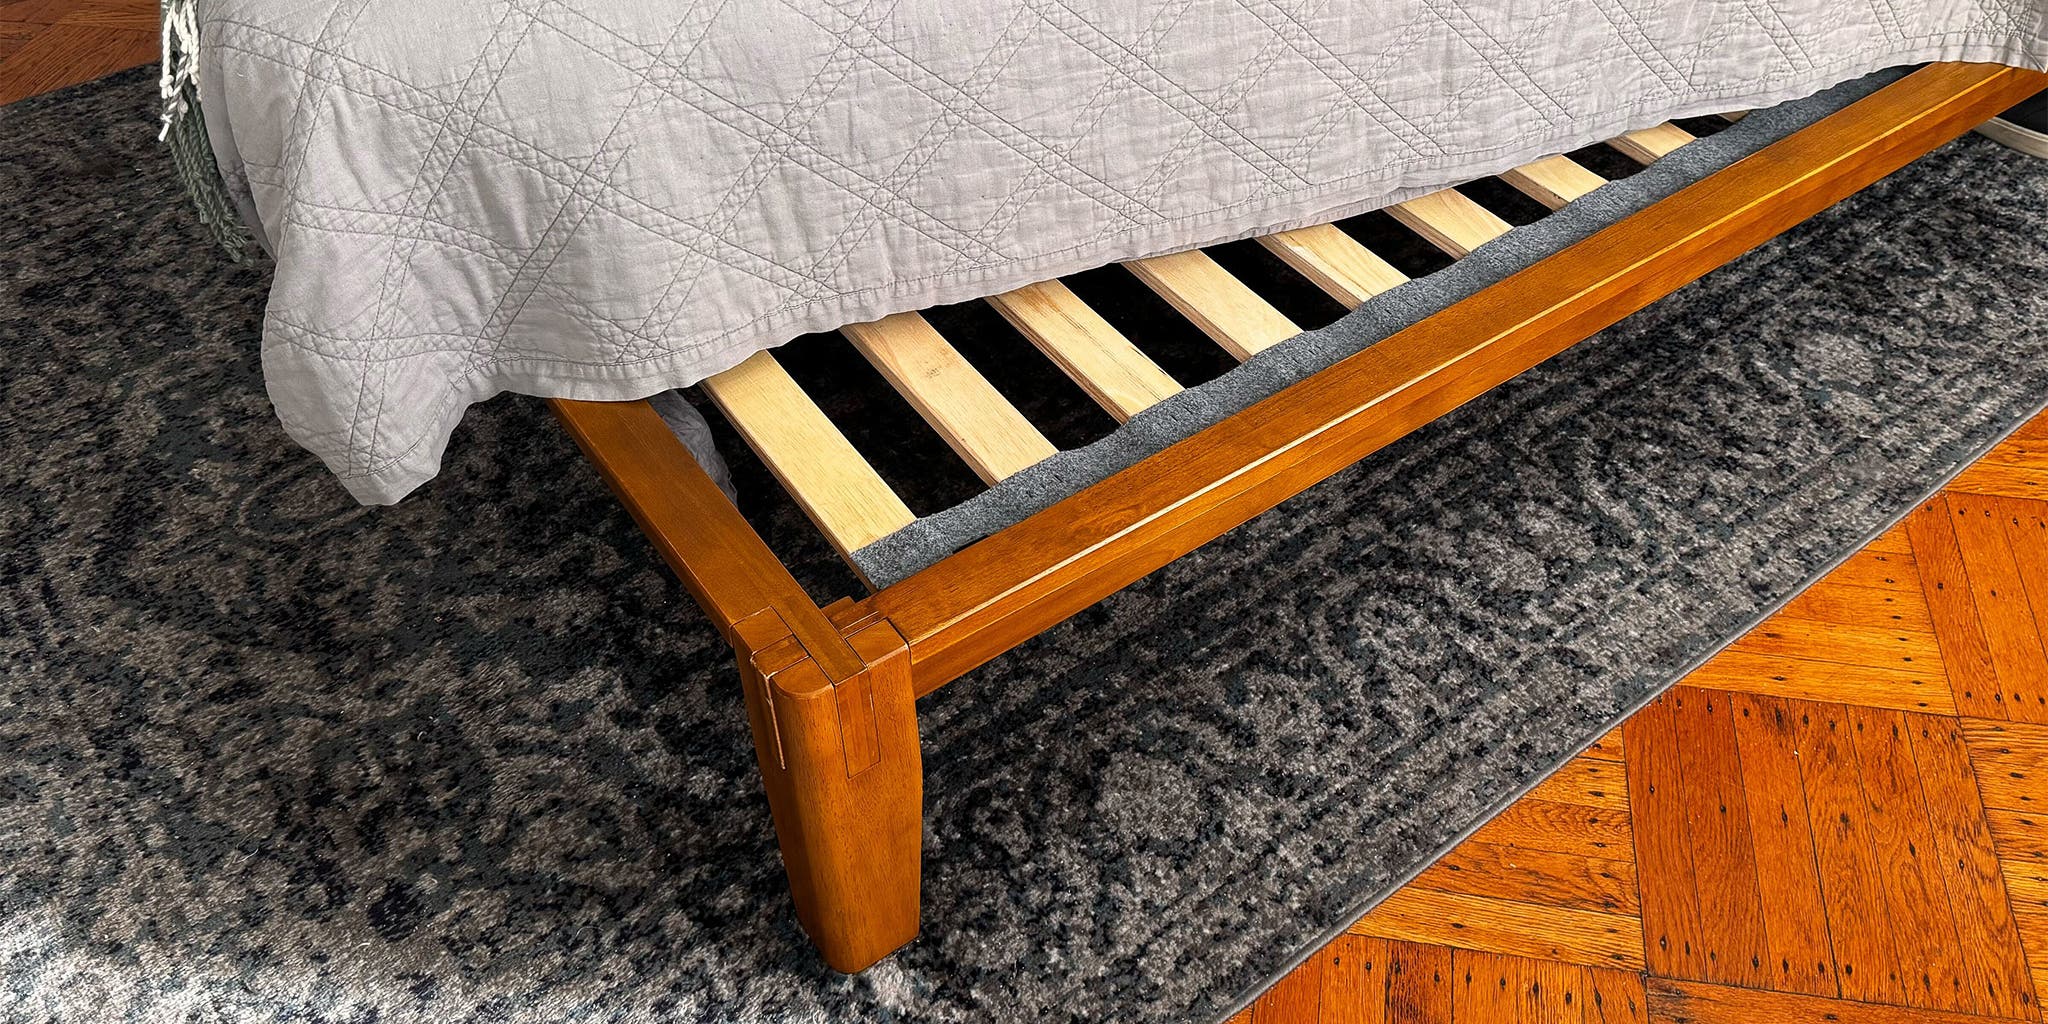
If a slat is broken, you’ll likely need to replace it. You can often find replacement slats at hardware stores or online. Consider the material – wood slats are traditional, but metal slats offer greater durability, especially for heavier mattresses. Proper slat spacing is crucial for adequate mattress support; too much space and the mattress can sag.
For heavier mattresses or individuals, adding extra slats can provide additional support and prevent sagging. This is a relatively inexpensive way to extend the life of your bed frame and improve your sleep quality. Keep in mind that the type of wood used for the slats matters – hardwoods like oak and maple are more durable than softwoods like pine.
Loose Hardware: Tightening and Reinforcing
This one seems obvious, but it’s surprising how often loose hardware is the culprit behind bed frame problems. Identify the different types of hardware – bolts, screws, washers, and nuts – and make sure you have the correct tools to tighten them. A basic socket set and a screwdriver set are essential.
Tighten all loose hardware systematically, starting with the corners and working your way around the frame. Be careful not to strip the screws by applying too much force. If a screw is stripped, you may need to replace it with a slightly larger one or use a screw extractor. Thread locker, like Loctite, can be applied to the threads of bolts and screws to prevent them from loosening again.
Replacing rusted or damaged hardware is also important. Rust weakens the metal and can make it difficult to tighten. Keep a small supply of replacement bolts, screws, and washers on hand for quick repairs. A little preventative maintenance can save you a lot of headaches down the road.
- Grab a socket set and a screwdriver.
- Identify loose hardware.
- Tighten systematically.
- Apply thread locker (optional).
- Replace damaged hardware.
Headboard Headaches: Fixing Common Issues
Loose or wobbly headboards are a common complaint. If your headboard is loose, start by checking the bolts that attach it to the frame. Tighten them securely. If the headboard is still wobbly, you may need to add washers to create a tighter fit. If the headboard is wall-mounted, ensure the mounting hardware is securely anchored to the wall.
Different mounting methods require different anchors. For drywall, use drywall anchors. For studs, use screws that are long enough to penetrate the stud. The weight of the headboard is a crucial factor – heavier headboards require stronger anchors. Squeaky headboards can often be silenced with felt pads placed between the headboard and the frame or wall.
Dampening vibrations is key to eliminating squeaks. Be mindful of the weight distribution and ensure the headboard is properly supported. A headboard that’s not securely attached can be a safety hazard, so it’s important to address the issue promptly. It's also a good idea to periodically check the mounting hardware to ensure it remains tight.
Beyond DIY: When to Call a Pro
While many bed frame problems are DIY-able, there are times when professional help is needed. Significant structural damage, such as a cracked frame or severely rusted metal, is best left to the experts. Attempting to repair these issues yourself could be dangerous or ineffective.
If you’re uncomfortable making the repairs yourself, or if you’re unsure about the best course of action, don’t hesitate to call a qualified furniture repair professional. Safety should always be your top priority. Resources like the Association of Furniture Repair Professionals can help you find a reputable technician in your area.
Remember, some repairs are simply beyond the scope of a DIY project. Recognizing your limitations and seeking professional assistance when needed is a sign of good judgment, not defeat.
No comments yet. Be the first to share your thoughts!